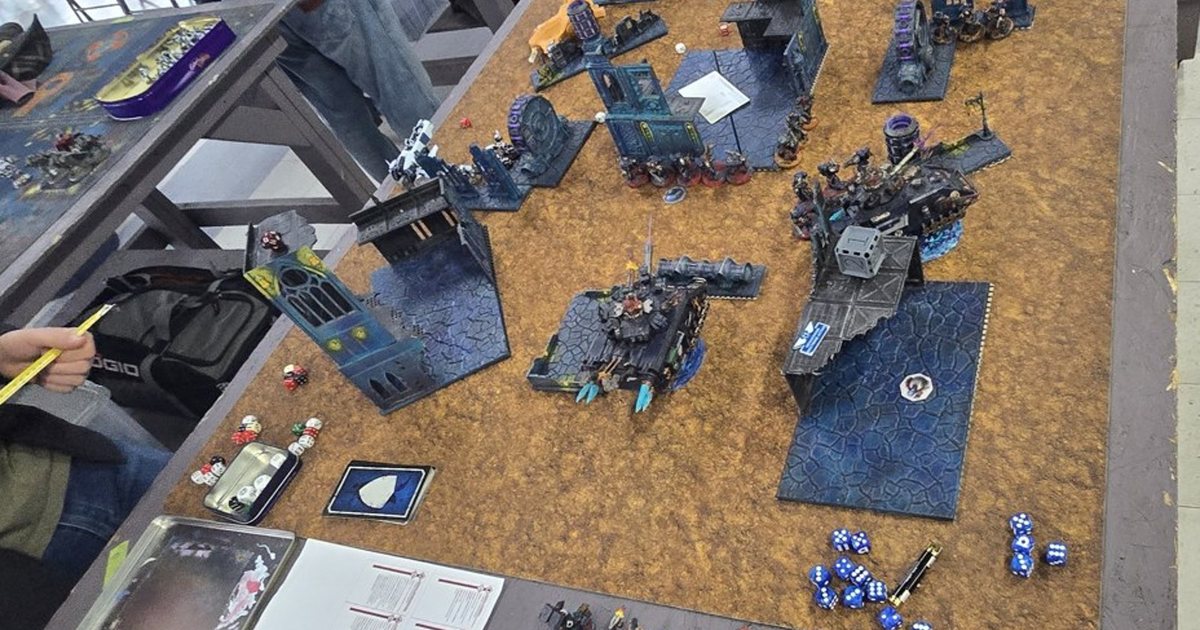
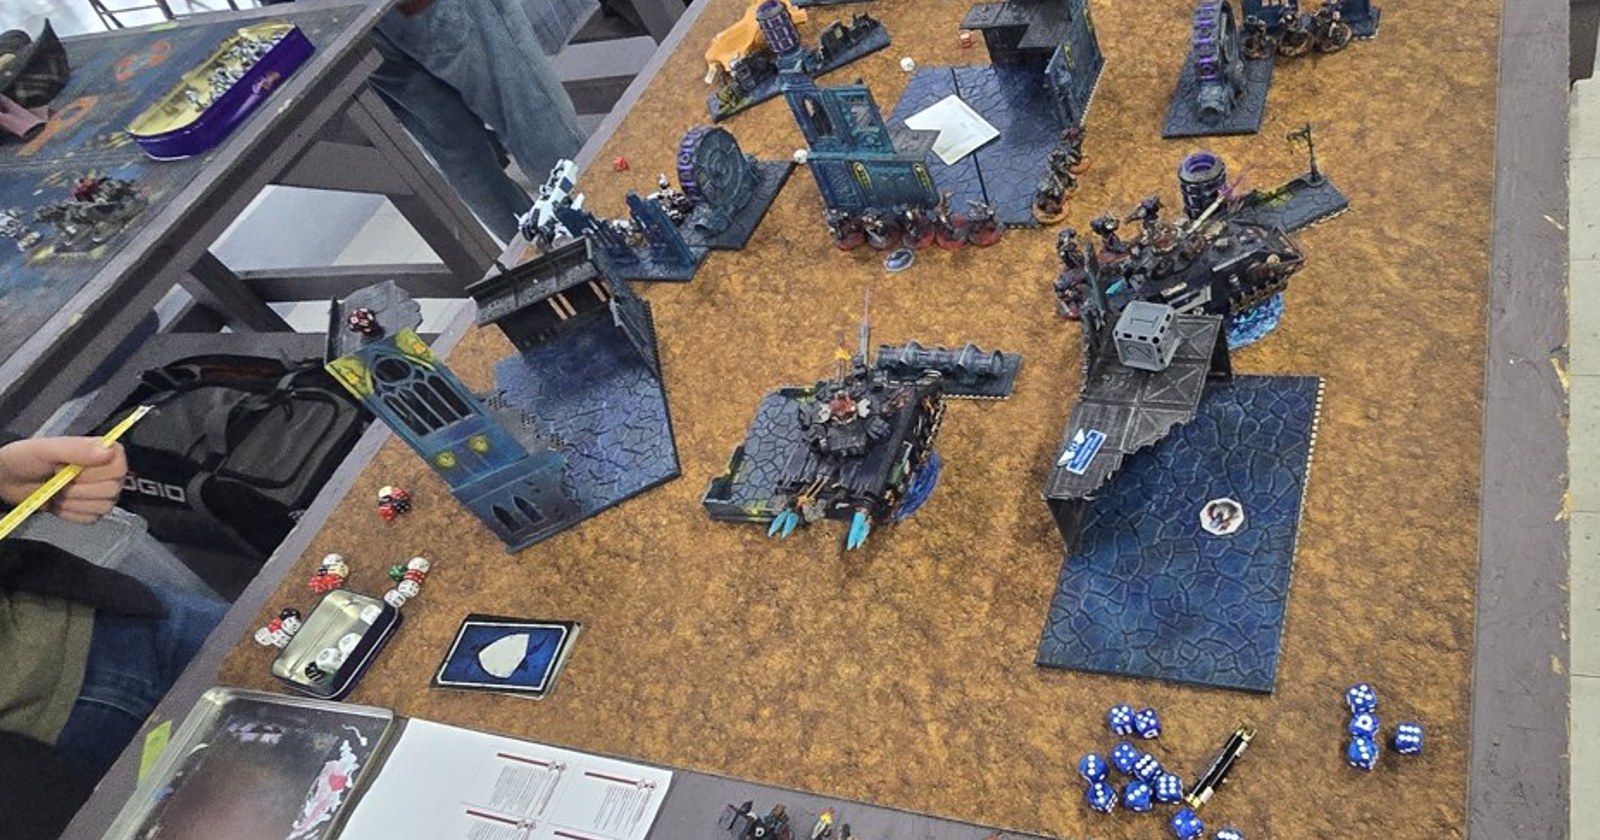
This is one of our own games, played at a local league on November 1: Ultramarines against T'au. I won 68 to 35, and most of it came down to one risky move: dropping Marneus Calgar and ten Terminators straight into the T'au home zone. Here's how it went, what worked, and what I'd do again.
This page has affiliate links: if you buy through them, WIZY may earn a small commission at no extra cost to you. As an Amazon Associate I earn from qualifying purchases.
The setup
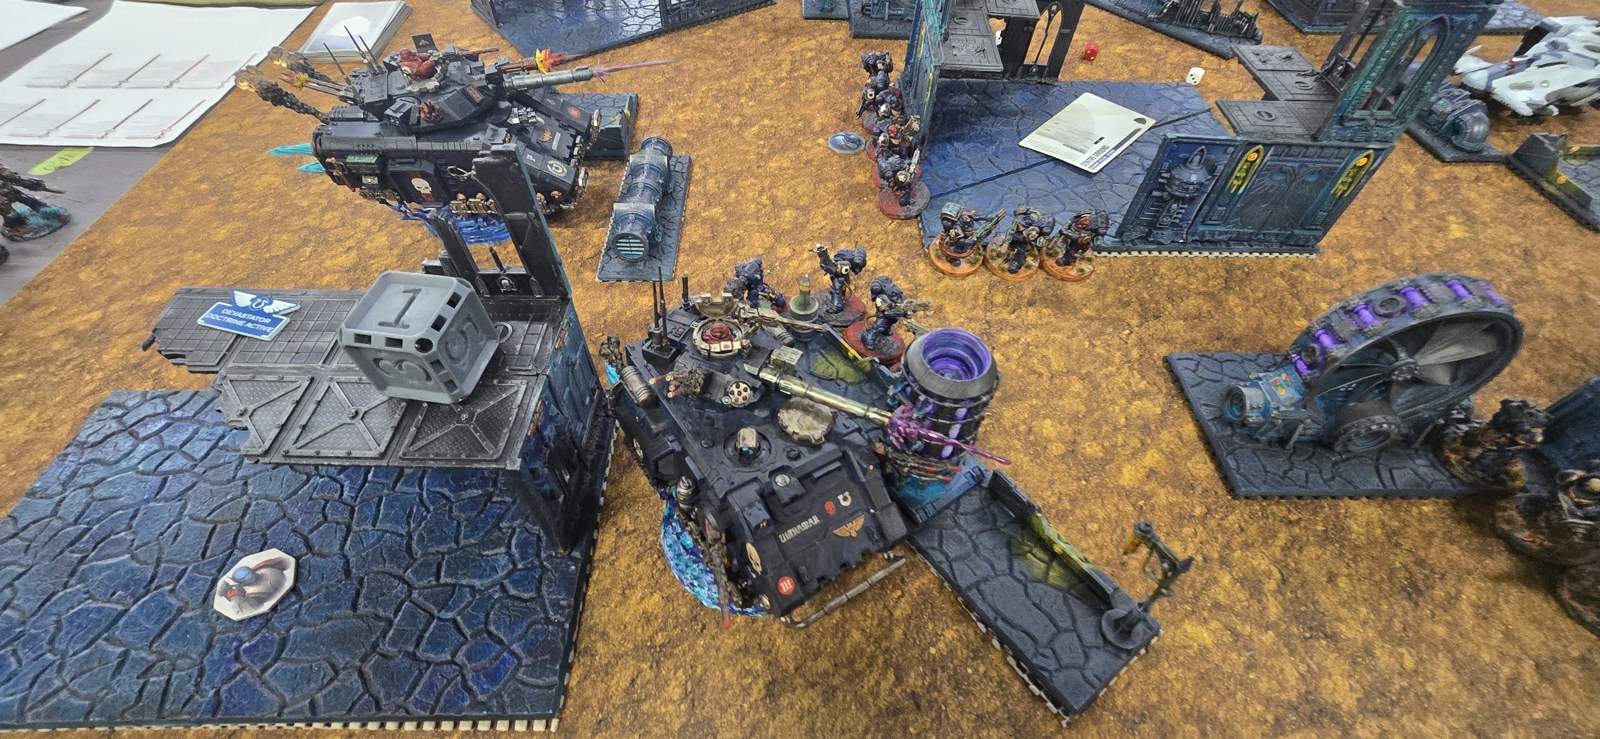
- Me: Ultramarines, led by Marneus Calgar with a ten-strong Terminator squad, backed by Repulsor-type tanks.
- Opponent: T'au, with railgun tanks, battlesuits, a fast skimmer and infantry.
- Missions: my secondary was Take and Hold, his was Reconnaissance.
The big play: Calgar and ten Terminators in his home zone
The T'au want to sit back and shoot, so I didn't give them the chance. Calgar and the Terminators deep struck right onto his home objective, in the middle of his whole army. It was a sacrifice play, and I knew it.
It paid off fast. Between them they destroyed two of his big railgun tanks (the guns with strength 20) and a smaller skimmer tank. Then his entire army turned around and shot at them.
Calgar refuses to die
He rolled badly, I rolled my saves well, and when the smoke cleared all ten Terminators were gone but Calgar was still standing on five wounds, after taking a hit from an exploding tank too.
Then he took over the game on his own:
- Two of the T'au tanks charged him. He fought back and destroyed one.
- He fell back, shot, and wiped another small unit.
- Then he charged a five-model squad sitting on the T'au beacon and killed all of them in one round. Six attacks at 3 damage against two-wound models doesn't leave much.
Why it won the game
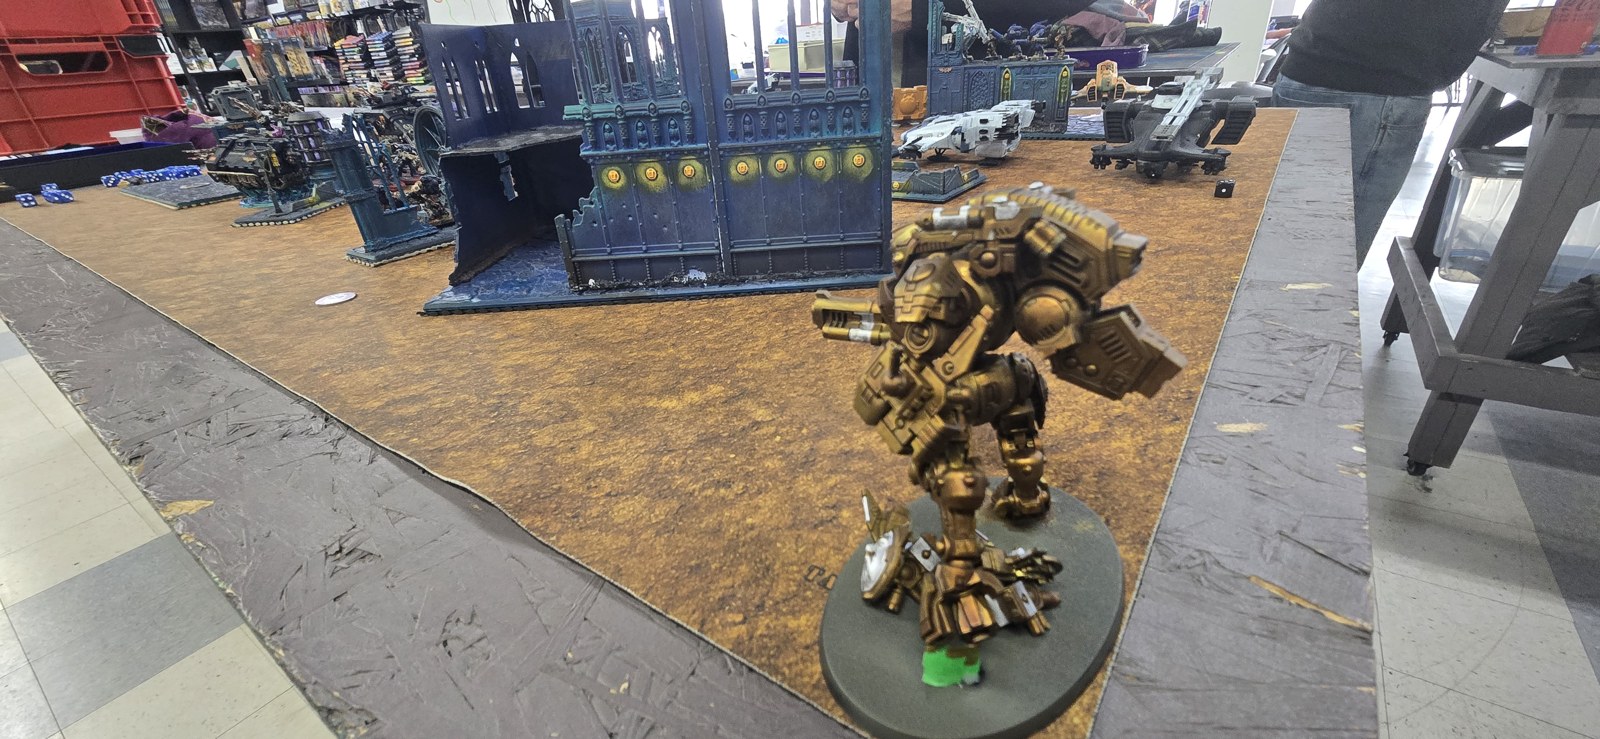
I lost a full Terminator squad, so on paper it looks expensive. But the T'au spent the whole game shooting at the deep strike instead of scoring, and they never left their own deployment zone. Meanwhile my tanks did their job across the board. We had to stop partway through, and at that point it was 68 to 35.
Lessons from this game
- Against T'au, pressure their backfield. A gunline that has to shoot at its own home objective isn't scoring anywhere else.
- A sacrifice is fine if it pays for itself. Ten Terminators for three tanks plus control of the board is a good trade.
- Calgar is worth building around. Three-damage attacks clear elite infantry and tanks alike.
- Deep strike rules matter. In 11th edition, deep strike comes in more than 8" away from enemies, from turn 2 onwards, which makes this kind of drop easier to pull off.
I log my games like this one in my Crusade Journal: which units earned their keep, who survived, and which grudges carry into the next game.
My take
This is why I love Ultramarines. Calgar dropping into the enemy's home zone, surviving everything they had and then tearing through his beacon squad is the kind of moment you remember for years. T'au players, how would you have handled that drop?
Sources
- Our own game, played November 1, 2026 holywizy.com

Written by the WIZY creator
A lifelong gamer and Warhammer painter from Calgary, Canada, and the maker of the Crusade Journal and the WIZY RPG game. I write about games, hardware, Warhammer and crypto in plain English, and I check every fact against its source.